クイックスタート
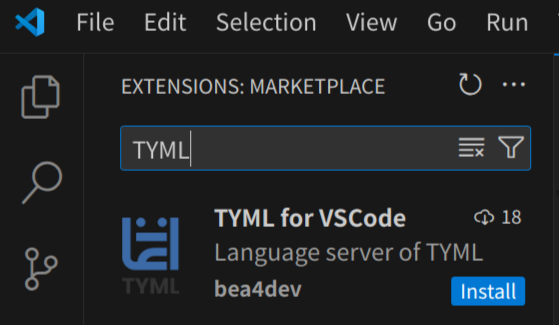
1. VSCode拡張機能をダウンロード🔗
VSCodeマーケットプレイスからTYML for VSCode
をダウンロードします。

2. APIを定義する🔗
適当な場所にファイルapi.tyml
を作成してください。
interface API {
function hello() -> string {
return "Hello, world!"
}
}
3. TYMLのCLIツールをインストール🔗
以下のコマンドでインストールできます(Rustのcargoが必要です)。
cargo install tyml_core tyml_api_generator
4. コードの生成と実装🔗
今回の例では、サーバー側がRust、クライアント側がTypeScriptを想定します。
サーバー側(Rust)🔗
まずテスト用のクレートを作成します。
cargo new api-example-server
次に2.で定義したapi.tyml
を使って型を生成します。
tyml-api-gen server rust-axum api.tyml ./api-example-server/api
Success!
と表示されれば成功です。
Cargo.toml
に先程作成したapi
とasync-trait
とtokio
を追加します
[dependencies]
api = { path = "./api/" }
async-trait = "0.1"
tokio = { version = "1", features = ["full"] }
最後にmain.rs
を編集してAPIを実装します。
use api::{serve, types::API};
use async_trait::async_trait;
struct Server {}
#[async_trait]
impl API for Server {
async fn hello(&self) -> String {
"Hello, world!".to_string()
}
}
#[tokio::main]
async fn main() {
let server = Server {};
serve(server, "localhost:3000").await.unwrap();
}
クライアント側🔗
TypeScriptの型を作成します。
tyml-api-gen client typescript api.tyml ./api-example-client/api
次にmain.ts
を./api-example-client
内に作成してAPIを使用するコードを実装します。
import { API } from "./api/types.ts";
async function main() {
const api = new API("http://localhost:3000")
const result = await api.hello()
console.log(result)
}
main()
5. 実行🔗
サーバーとクライアントの それぞれのディレクトリ で以下のコマンドを実行します。
サーバー側🔗
cargo run
クライアント側🔗
npx tsx main.ts
実行結果🔗
クライアント側を実行したときにHello, world!
が表示されれば成功です